How to Install DokuWiki on Ubuntu 18.04 LTS

DokuWiki is a free, open source and highly versatile wiki application written in the PHP programming language. It works on plain text files so doesn’t require any database. DokuWiki wiki offers lots of features that may not be available to other CMS like, Joomla, WordPress and Drupal. DokuWiki is a file-based CMS and provides WYSIWYG support and SEO friendly.

In this tutorial, we will learn how to install DokuWiki on Ubuntu 18.04 server.

Requirements

  • A server running Ubuntu 18.04.
  • A static IP address 192.168.0.101 is set up on your server.
  • A root password is set up to your server.

Getting Started

First, you will need to update your server with the latest version. You can do it with the following command:

apt-get update -y
 apt-get upgrade -y

Once your server is updated, restart your system to apply all the changes

Install Apache, PHP

Before starting, you will need to install Apache web server, PHP and other packages to your server. You can install all of them by running the following command:

apt-get install apache2 php7.2 libapache2-mod-php7.2 php7.2-common php7.2-mbstring php7.2-xmlrpc php7.2-sqlite3 php7.2-soap php7.2-gd php7.2-xml php7.2-cli php7.2-tidy php7.2-intl php7.2-json php7.2-curl php7.2-zip unzip wget git -y

Once all the packages are installed, open php.ini file and change some settings:

nano /etc/php/7.2/apache2/php.ini

Make the following changes:

memory_limit = 256M
upload_max_filesize = 100M
max_execution_time = 360
date.timezone = Asia/Kolkata

Save and close the file, when you are finished. Then, start Apache service and enable it to start on boot time with the following command:

systemctl start apache2
 systemctl enable apache2

Once you have done, you can proceed to the next step.

Install DokuWiki

First, you will need to download the latest version of DokuWiki from Git repository. You can download it to the Apache web root directory with the following command:

cd /var/www/html/
 git clone --branch stable https://github.com/splitbrain/dokuwiki.git

Once the download is completed, give proper permissions to the dokuwiki directory with the following command:

chown -R www-data:www-data /var/www/html/dokuwiki/
 chmod -R 755 /var/www/html/dokuwiki/

Once you have done. You can proceed to the next step.

Configure Apache for DokuWiki

Next, you will need to create an Apache virtual host file for DokuWiki. You can do this by creating the following file:

nano /etc/apache2/sites-available/dokuwiki.conf

Add the following lines:

VirtualHost *:80
     ServerAdmin [email protected]
     DocumentRoot /var/www/html/dokuwiki
     ServerName example.com

     Directory /var/www/html/dokuwiki/
          Options FollowSymlinks
          AllowOverride All
          Require all granted
     /Directory

     ErrorLog ${APACHE_LOG_DIR}/doku_error.log
     CustomLog ${APACHE_LOG_DIR}/doku_access.log combined
    
     Directory /var/www/html/dokuwiki/
            RewriteEngine on
            RewriteBase /
            RewriteCond %{REQUEST_FILENAME} !-f
            RewriteRule ^(.*) index.php [PT,L]
    /Directory
/VirtualHost

Save and close the file, when you are finished. Then, enable DokuWiki virtual host with the following command:

a2ensite dokuwiki.conf

Next, enable Apache rewrite module and restart Apache service to apply all the changes with the following command:

a2enmod rewrite
 systemctl restart apache2

You can also check the status of Apache service with the following command:

systemctl status apache2

You should see the following output:

? apache2.service - The Apache HTTP Server
   Loaded: loaded (/lib/systemd/system/apache2.service; enabled; vendor preset: enabled)
  Drop-In: /lib/systemd/system/apache2.service.d
           ??apache2-systemd.conf
   Active: active (running) since Tue 2019-04-16 14:57:32 UTC; 3s ago
  Process: 2358 ExecStart=/usr/sbin/apachectl start (code=exited, status=0/SUCCESS)
 Main PID: 2372 (apache2)
    Tasks: 6 (limit: 1113)
   CGroup: /system.slice/apache2.service
           ??2372 /usr/sbin/apache2 -k start
           ??2375 /usr/sbin/apache2 -k start
           ??2377 /usr/sbin/apache2 -k start
           ??2378 /usr/sbin/apache2 -k start
           ??2381 /usr/sbin/apache2 -k start
           ??2382 /usr/sbin/apache2 -k start

May 25 02:50:11 ubuntu1804 systemd[1]: Starting The Apache HTTP Server...
May 25 02:50:11 ubuntu1804 apachectl[2358]: AH00558: apache2: Could not reliably determine the server's fully qualified domain name, using 181.
May 25 02:50:11 ubuntu1804 systemd[1]: Started The Apache HTTP Server.

Once you have done, you can proceed to the next step.

Access DokuWiki Web Interface

Open your web browser and type the URL http://example.com/install.php. You will be redirected to the following page:

DikuWiki installer

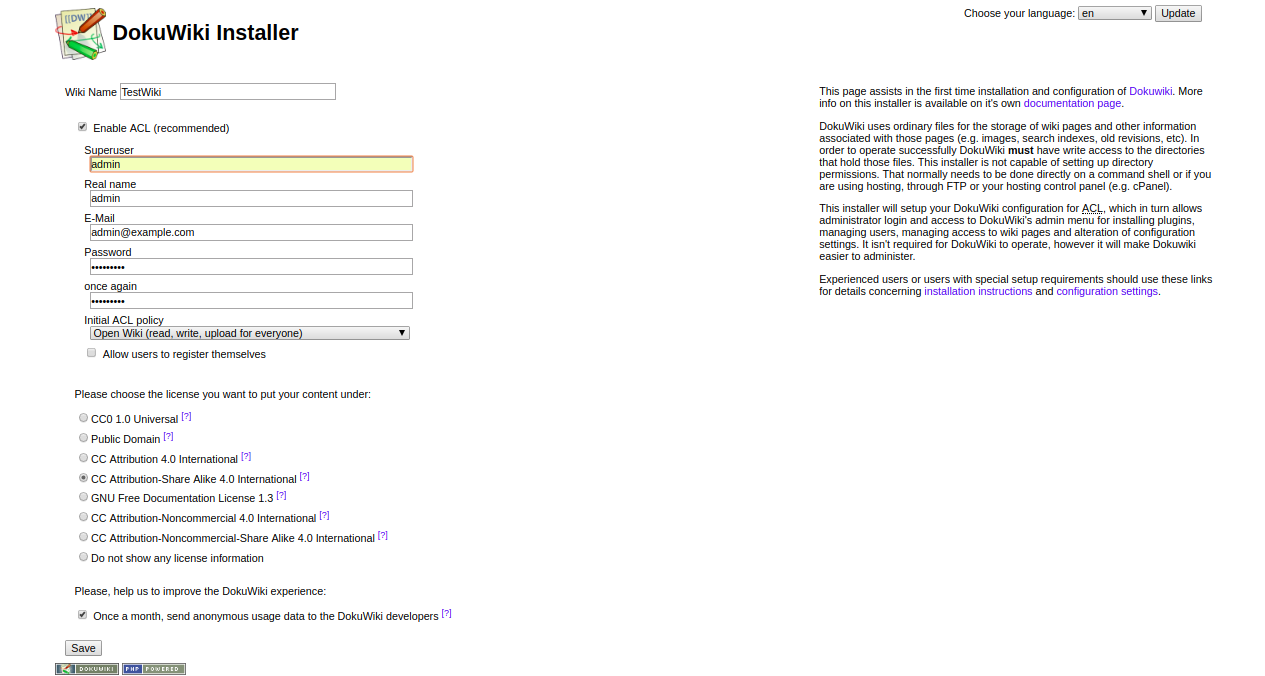
Provide all the required information like superuser name, email, password. Then, click on the Save button. Once the installation has been completed successfully, you should see the following page:

Set username and password

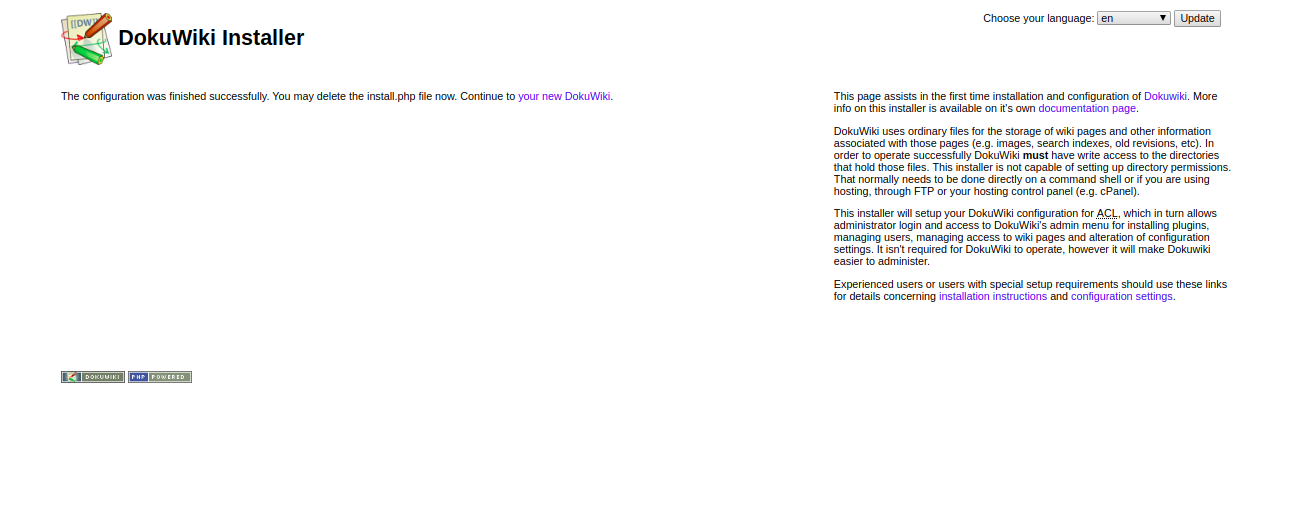
Now, click on your new DokuWiki. You should see the following page:

DokuWiki successfully installed

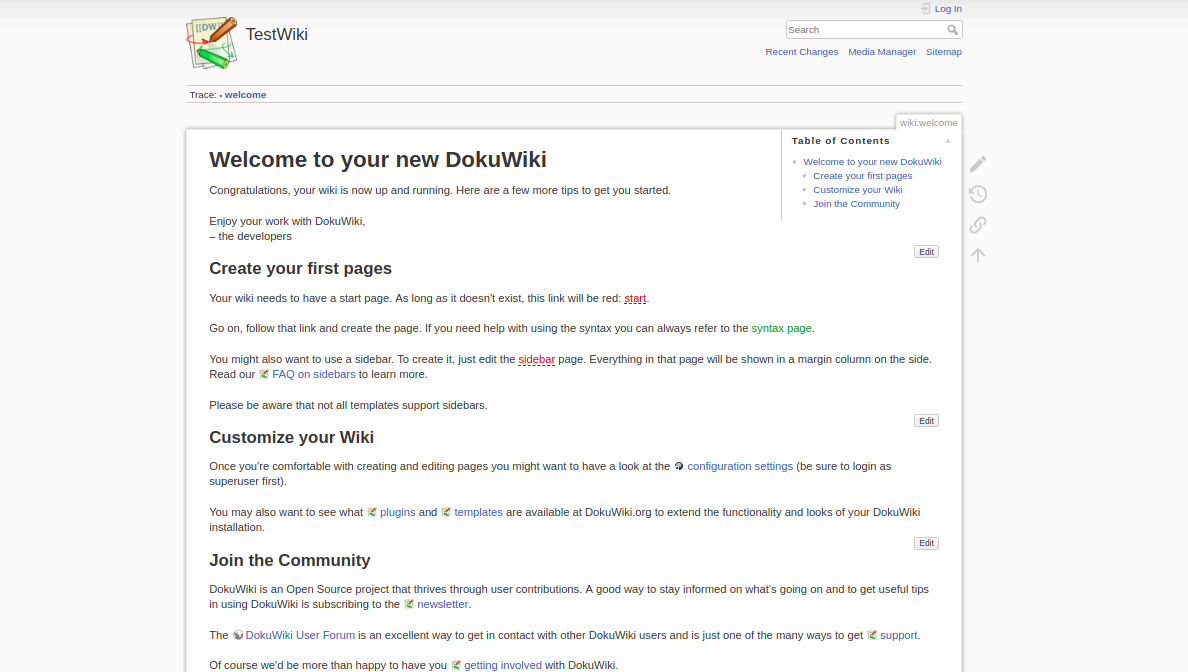
Now, click on the login button. You will be redirected to the following page:

Login

Now, provide your Admin username and password. Then, click on the Log In button. You should see the DokuWiki dashboard in the following page:

Welcome to DokuWiki

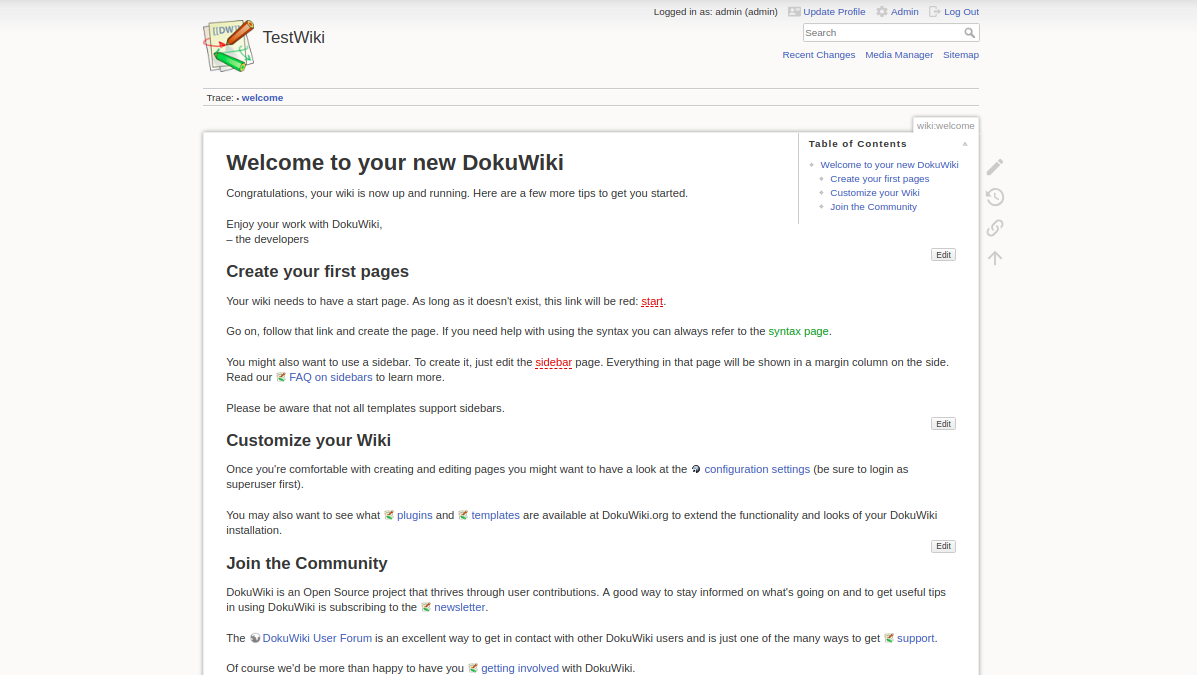
Congratulations! you have successfully installed and configured DokuWiki on Ubuntu 18.04 server. You can now create your own wiki site easily using DokuWiki. Feel free to ask me if you have any questions.

How to Install WebERP On Ubuntu 16.04

Kick-start your open source projects with access to hundreds of frameworks

WebERP a complete web based accounting and business management tool that can be used for online shop or a retail management system released under an OpenSource license. It is available in many languages and supports all popular operating systems including, Linux, Mac, and Windows. WebERP comes with a wide range of features like Purchase Orders, Sales orders, Manufacturing, Low foot-print, fast, simple code, Sales Analysis, PDF reports, Fully utf-8 compliant, Multi-currency support, Multiple themes and much more.

In this tutorial, I will show you step by step to install WebERP on Ubuntu 16.04 server.

Requirements

  • A fresh Ubuntu 16.04 server installed on your system.
  • A non-root user with sudo privileges is setup on your server.

Getting Started

Let’s start by updating your system packages with the latest version with the following command:

sudo apt-get update -y
sudo apt-get upgrade -y

After your system is fully updated, restart the system to apply all these changes.

Install LAMP Server

WebERP runs on Apache, written in PHP and uses MySQL for storing the database. So you will need to install Apache, PHP, and MariaDB to your system.

First, install Apache, PHP and required PHP libraries with the following command:

sudo apt-get install apache2, php7.0 php7.0-cli php7.0-mysql php7.0-gd php7.0-mcrypt php7.0-json php-pear -y

Once the installation is complete, start Apache service and enable it to start on boot with the following command:

sudo systemctl start apache2
sudo systemctl enable apache2

By default, the latest version of the MariaDB is not available in Ubuntu 16.04. So you will need to add MariaDB repository to your system.

You can do this by running the following command:

sudo apt-get install software-properties-common -y
sudo apt-key adv –recv-keys –keyserver hkp://keyserver.ubuntu.com:80 0xF1656F24C74CD1D8
sudo add-apt-repository ‘deb [arch=amd64,i386,ppc64el] http://www.ftp.saix.net/DB/mariadb/repo/10.1/ubuntu xenial main’

Next, update the repository and install MariaDB server with the following command:

sudo apt-get update -y
sudo apt-get install mariadb-server mariadb-client -y

Once the installation is complete, start MariaDB service and enable it to start on boot with the following command:

sudo systemctl start mysql
sudo systemctl enable mysql

Configure MariaDB

Next, you will need to secure MariaDB installation. You can do this by running the following script:

sudo mysql_secure_installation

The above script will set the root password, remove anonymous users, disallow remote root login and remove test database.

Once the MariaDB is secured, login to MySQL console and create a database for WebERP:

mysql -u root -p

Enter your root password and create a database as per your need:

MariaDB [(none)]CREATE DATABASE weberp_db;

Next, create a username and password for WebERP with the following command:

MariaDB [(none)]CREATE USER ‘weberp’@’localhost’ IDENTIFIED BY ‘password’;

Next, grant privileges to the weberp database with the following command:

MariaDB [(none)]GRANT ALL PRIVILEGES ON weberp_db.* TO ‘weberp’@’localhost’;

Next, flush the privileges with the following command:

MariaDB [(none)]flush privileges;

Finally close the MySQL console:

MariaDB [(none)]exit;

Download WebERP

You can download the latest version of the WebERP from their official website with the wget command as shown below:

wget https://excellmedia.dl.sourceforge.net/project/web-erp/webERP4.14.1.zip

After downloading WebERP, extract the downloaded source with the unzip command:

unzip webERP4.14.1.zip

Next, copy the extracted directory to the Apache web root directory:

sudo cp -r webERP /var/www/html/weberp

Next, change the ownership of the weberp directory:

sudo chown -R www-data:www-data /var/www/html/weberp

Configure Apache for WebERP

Next, create an apache virtual host file for WebERP:

sudo nano /etc/apache2/sites-available/weberp.conf

Add the following lines:

VirtualHost *:80
ServerAdmin [email protected]
DocumentRoot "/var/www/html/weberp/"
ServerName yourdomain.com
ServerAlias www.yourdomain.com
Directory "/var/www/html/weberp/"
Options FollowSymLinks
AllowOverride All
Order allow,deny
allow from all
/Directory
ErrorLog /var/log/apache2/weberp-error_log
CustomLog /var/log/apache2/weberp-access_log common
/VirtualHost

Save the file when you are finished, then activate the new virtual host with the following command:

sudo a2ensite weberp

Finally, restart Apache service to reload the changes:

sudo systemctl restart apache2

Access WebERP Web Interface

WebERP runs on port 80, so you will need to allow port 80 through the firewall. First, enable the UFW firewall with the following command:

sudo ufw enable

Next, allow port 80 through the UFW firewall with the following command:

sudo ufw allow 80/tcp

You can get the status of the UFW firewall with the following command:

sudo ufw status

Once the UFW firewall is configured, open your web browser and type the URL http://yourdomain.com, you will be redirected to the WebERP welcome page as shown below:

WebERP install wizard

Select your language and click on the NEXT STEP button, you should see the WebERP database configuration page in below image:

Database configuration

Provide all the information like, host, database name, database username, and password, then click on the NEXT button. You should see the WebERP installation wizard in the below image:

company settings

administrator settings

Now, provide required details like Company name, Time zone, Admin account username, password, E-mail address, then click on the INSTALL button. You should see the WebERP login screen in below image:

Login

Now, provide your Admin username and password, then click on the Login button. You should see the WebERP dashboard in the following image:

WebERP Dashboard

Now start using WebERP.


Install and Configure Kolab Groupware on Ubuntu 16.04 LTS

Kolab is an Open source web-based groupware software application that provides solutions for an email server, directory service, web service, Calendar, Task, address books and more. Kolab supports several clients including, outlook, KDE Contact, Thunderbird, and Roundcube. Kolab provides user-friendly and easy to use web interface that can be used to add, modify and delete users, domains, shared folders and much more.

Kolab comes with lots of features, some of them are listed below:

  • Provide support for mixed-client environments like outlook, web, and KDE.
  • Uses IMAP and POP3 for email and LDAP for storing configuration data.
  • Provide support for shared contacts and calendars.
  • Full server-side support for CardDAV and WebDAV, ActiveSync and CalDAV.

Requirements

  • A server running Ubuntu 16.04.
  • A non-root user with sudo privileges setup on your server.
  • A static IP 192.168.0.190 setup on your server.

Getting Started

Before starting, you will need to set up Fully Qualified Domain Name or hostname to your system. You can do this by editing /etc/hosts and /etc/hostname file:

sudo nano /etc/hosts

Add the IP address and hostname at the end of the file:

192.168.0.190 mail.kolab.com mail

Save and close the file, then edit /etc/hostname file:

sudo nano /etc/hostname

Add the following line:

mail.kolab.com

Save the file when you are finished, then restart your system to apply all the changes.

Install MariaDB

Before installing Kolab, you will need to install the latest version of the MariaDB in your server. By default, MariaDB is not available in Ubuntu 16.04 default repository. So, first download the APT key for MariaDB with the following command:

sudo apt-key adv –recv-keys –keyserver hkp://keyserver.ubuntu.com:80 0xF1656F24C74CD1D8

Next, add the Maria-DB repository with the following command:

sudo add-apt-repository ‘deb [arch=amd64,i386,ppc64el] http://mirror.jmu.edu/pub/mariadb/repo/10.1/ubuntu xenial main’

Next, update the repository and install MariaDB with the following command:

sudo apt-get update -y
sudo apt-get install mariadb-server -y

Once MariaDB is installed, start MariaDB service and enable it to start on boot time with the following command:

sudo systemctl start mysql
sudo systemctl enable mysql

Next, secure the MariaDB installation by running the following script:

sudo mysql_secure_installation

Answer all the questions as shown below:

Enter current password for root (enter for none):
Change the root password? [Y/n] n
Remove anonymous users? [Y/n] Y
Disallow root login remotely? [Y/n] Y
Remove test database and access to it? [Y/n] Y
Reload privilege tables now? [Y/n] Y

Once MariaDB is secured, you can proceed to the next step.

Install Kolab

By default, Kolab is not available in Ubuntu 16.04 default repository. So you will need to add the Kolab repository to the APT. You can do this by editing /etc/apt/sources.list file:

sudo nano /etc/apt/sources.list

Add the following lines at the end of the file:

deb http://obs.kolabsys.com/repositories/Kolab:/16/Ubuntu_16.04/ ./
deb-src http://obs.kolabsys.com/repositories/Kolab:/16/Ubuntu_16.04/ ./

Save and close the file, then Import the GPG key used to sign the packages:

wget -q -O- https://ssl.kolabsys.com/community.asc | sudo apt-key add –

Next, you will need to ensure the Kolab packages have priority over the Ubuntu packages. You can do this by creating /etc/apt/preferences.d/kolab file:

sudo nano /etc/apt/preferences.d/kolab

Add the following lines:

Package: *
Pin: origin obs.kolabsys.com
Pin-Priority: 501

Save the file and update the repository metadata with the following command:

sudo apt-get update -y

Finally, install Kolab by just running the following command:

sudo apt-get install kolab -y

Configure Kolab

After installing Kolab, you will need to setup Kolab Groupware. You can do this by running the following command:

sudo setup-kolab

During the Kolab setup, you will be asked the following questions, please follow the instructions provided along with them.

#Please supply a password for the LDAP administrator user 'admin', used to login to the graphical console of 389 Directory server.

Administrator password [JAOw_2oIhlezXlK]: 
Confirm Administrator password: 

#Please supply a password for the LDAP Directory Manager user, which is the administrator user you will be using to at least initially log in to the Web
#Admin, and that Kolab uses to perform administrative tasks.

Directory Manager password [QXML8Suxv-YTUFr]: 
Confirm Directory Manager password: 

#Please choose the system user and group the service should use to run under. These should be existing, unprivileged, local system POSIX accounts with no shell.

User [dirsrv]: 
Group [dirsrv]: 

#This setup procedure plans to set up Kolab Groupware for the following domain name space. This domain name is obtained from the reverse DNS entry on your
#network interface. Please confirm this is the appropriate domain name space.

kolab.com [Y/n]: Y

#The standard root dn we composed for you follows. Please confirm this is the root dn you wish to use.

dc=kolab,dc=com [Y/n]: Y

#Setup is now going to set up the 389 Directory Server. This may take a little while (during which period there is no output and no progress indication).

Created symlink from /etc/systemd/system/multi-user.target.wants/dirsrv.target to /lib/systemd/system/dirsrv.target.

#Please supply a Cyrus Administrator password. This password is used by Kolab to execute administrative tasks in Cyrus IMAP. You may also need the password
#yourself to troubleshoot Cyrus IMAP and/or perform other administrative tasks against Cyrus IMAP directly.

Cyrus Administrator password [h3IbKvhbKGUwhy5]: 
Confirm Cyrus Administrator password: 

#Please supply a Kolab Service account password. This account is used by various services such as Postfix, and Roundcube, as anonymous binds to the LDAP server
#will not be allowed.

Kolab Service password [KhHTzhSYh4w11Vw]: 
Confirm Kolab Service password: 

What MySQL server are we setting up?
 - 1: Existing MySQL server (with root password already set).
 - 2: New MySQL server (needs to be initialized).
Choice:  - 1: Existing MySQL server (with root password already set).
 - 2: New MySQL server (needs to be initialized).
Choice:  - 1: Existing MySQL server (with root password already set).
 - 2: New MySQL server (needs to be initialized).
Choice: 2

#Please supply the root password for MySQL, so we can set up user accounts for other components that use MySQL.

MySQL root password: 

#Please supply a password for the MySQL user 'kolab'. This password will be used by Kolab services, such as the Web Administration Panel.

MySQL kolab password [2-Zz7j_AjGI8QF0]: 
Confirm MySQL kolab password: 

#Please supply the timezone PHP should be using. You have to use a Continent or Country / City locality name like 'Europe/Berlin', but not just 'CEST'.

Timezone ID [UTC]: Asia/Kolkata

#Please supply a password for the MySQL user 'roundcube'. This password will be used by the Roundcube webmail interface.

MySQL roundcube password [OVwJoKktzbOMAys]: 
Confirm MySQL roundcube password: 

Once the Kolab setup is complete, you can proceed to access Kolab web interface.

Access Kolab Web Interface

Open your web browser and type the URL http://mail.kolab.com/kolab-webadmin or http://192.168.0.190/kolab-webadmin. You will be redirected to the Kolab login page as shown below:

Kolab Web Admin

Provide username as cn=Directory Manager and password that you set in above step. Then click on the Login button. You should see the following screen:

Kolab admin dashboard

Next, Click on Users Icon in Web Interface and create a mail user as shown below:

Add user

Next, click on the Contact Tab to verify the user id:

contact management

Next, click on the System tab to set email user password:

Email user

Next, click on the Configuration tab to set the email Quota for user:

Email quota

Access Roundcube Webmail

Now, your mail user is created, it’s time to access your mail through Rouncube webmail.

Open your web browser and type the URL http://mail.kolab.com/roundcubemail. You should see the following screen:

RoundCube Webmail

Provide username as your primary email id and password that you set in above step. Then click on the Login button. You should see the Roundcube web interface in the following screen:

Kolab web client

Using this interface, you can easily access and send the email, manage address book, calendar, and tasks.

Congratulations! You have successfully installed Kolab Groupware on Ubuntu 16.04 server. You can now easily send and receive emails, manage contacts, task and address book.

v

How to Install Phorum with Nginx on CentOS 7

Phorum is a PHP and MySQL based Open Source forum software. In this guide, we will guide you step-by-step through the Phorum installation process on the CentOS 7 operating system using Nginx as the web server, MariaDB as the database, and acme.sh and Let’s Encrypt for HTTPS.

Requirements

Requirements for running Phorum are:

  • Nginx
  • PHP version 5.2 or greater
  • MySQL/MariaDB version 5.0 or greater

Prerequisites

  • A CentOS 7 operating system.
  • A non-root user with sudo privileges.

Initial steps

Check your CentOS version:

cat /etc/centos-release
# CentOS Linux release 7.6.1810 (Core)

Set up the timezone:

timedatectl list-timezones
sudo timedatectl set-timezone 'Region/City'

Update your operating system packages (software). This is an important first step because it ensures you have the latest updates and security fixes for your operating system’s default software packages:

sudo yum update -y

Install some essential packages that are necessary for basic administration of the CentOS operating system:

sudo yum install -y curl wget vim git unzip socat bash-completion epel-release

Step 1 – Install PHP

Install PHP, as well as the necessary PHP extensions:

sudo yum install -y php php-cli php-fpm php-common php-mysql

To show PHP compiled in modules, you can run:

php -m
ctype
curl
exif
fileinfo
. . .
. . .

Check the PHP version:

php --version
# PHP 7.2.10-0ubuntu0.18.04.1 (cli) (built: Sep 13 2018 13:45:02) ( NTS )
# Copyright (c) 1997-2018 The PHP Group
# Zend Engine v3.2.0, Copyright (c) 1998-2018 Zend Technologies
#     with Zend OPcache v7.2.10-0ubuntu0.18.04.1, Copyright (c) 1999-2018, by Zend Technologies

Start and enable PHP-FPM service:

sudo systemctl start php-fpm.service
sudo systemctl enable php-fpm.service

Step 2 – Install MariaDB and create a database

Install MariaDB database server:

sudo yum install -y mariadb-server

Check the MariaDB version:

mysql --version

Start and enable MariaDB service:

sudo systemctl start mariadb.service
sudo systemctl enable mariadb.service

Run mysql_secure installation script to improve MariaDB security and set the password for MariaDB root user:

sudo mysql_secure_installation

Answer each of the questions:

Would you like to setup VALIDATE PASSWORD plugin? N
New password: your_secure_password
Re-enter new password: your_secure_password
Remove anonymous users? [Y/n] Y
Disallow root login remotely? [Y/n] Y
Remove test database and access to it? [Y/n] Y
Reload privilege tables now? [Y/n] Y

Connect to MariaDB shell as the root user:

sudo mysql -u root -p
# Enter password

Create an empty MariaDB database and user and remember the credentials:

MariaDB CREATE DATABASE dbname;
MariaDB GRANT ALL ON dbname.* TO 'username' IDENTIFIED BY 'password';
MariaDB FLUSH PRIVILEGES;

Exit from MariaDB:

MariaDB exit

Replace dbname, username and password with your own names.

Step 3 – Install acme.sh client and obtain Let’s Encrypt certificate (optional)

Securing your forum with HTTPS is not necessary, but it is a good practice to secure your site traffic. In order to obtain TLS certificate from Let’s Encrypt we will use acme.sh client. Acme.sh is a pure UNIX shell software for obtaining TLS certificates from Let’s Encrypt with zero dependencies. 

Download and install acme.sh:

sudo su - root
git clone https://github.com/Neilpang/acme.sh.git
cd acme.sh 
./acme.sh --install --accountemail [email protected]
source ~/.bashrc
cd ~

Check acme.sh version:

acme.sh --version
# v2.8.0

Obtain RSA and ECC/ECDSA certificates for your domain/hostname:

# RSA 2048
acme.sh --issue --standalone -d example.com --keylength 2048
# ECDSA
acme.sh --issue --standalone -d example.com --keylength ec-256

If you want fake certificates for testing you can add --staging flag to the above commands.

After running the above commands, your certificates and keys will be in:

  • For RSA: /home/username/example.com directory.
  • For ECC/ECDSA: /home/username/example.com_ecc directory.

To list your issued certs you can run:

acme.sh --list

Create a directory to store your certs. We will use /etc/letsencrypt directory.

mkdir -p /etc/letsecnrypt/example.com
sudo mkdir -p /etc/letsencrypt/example.com_ecc

Install/copy certificates to /etc/letsencrypt directory.

# RSA
acme.sh --install-cert -d example.com --cert-file /etc/letsencrypt/example.com/cert.pem --key-file /etc/letsencrypt/example.com/private.key --fullchain-file /etc/letsencrypt/example.com/fullchain.pem --reloadcmd "sudo systemctl reload nginx.service"
# ECC/ECDSA
acme.sh --install-cert -d example.com --ecc --cert-file /etc/letsencrypt/example.com_ecc/cert.pem --key-file /etc/letsencrypt/example.com_ecc/private.key --fullchain-file /etc/letsencrypt/example.com_ecc/fullchain.pem --reloadcmd "sudo systemctl reload nginx.service"

All the certificates will be automatically renewed every 60 days.

After obtaining certs exit from root user and return back to normal sudo user:

exit

Step 4 – Install and configure NGINX

Install NGINX:

sudo yum install -y nginx

Check the NGINX version:

sudo nginx -v
# nginx version: nginx/1.12.2

Start and enable Nginx service:

sudo systemctl start nginx.service
sudo systemctl enable nginx.service

Configure NGINX for Phorum. Run sudo vim /etc/nginx/conf.d/phorum.conf and add the following configuration.

server {
  listen 80;
  listen 443 ssl;
  server_name example.com;
  root /var/www/phorum;
  ssl_certificate /etc/letsencrypt/example.com/fullchain.pem;
  ssl_certificate_key /etc/letsencrypt/example.com/private.key;
  ssl_certificate /etc/letsencrypt/example.com_ecc/fullchain.pem;
  ssl_certificate_key /etc/letsencrypt/example.com_ecc/private.key;
  index index.php index.html;

  location / {
    try_files $uri $uri/ /index.php?$query_string;
  }

  location ~ .php$ {
    fastcgi_split_path_info ^(.+.php)(/.+)$;
    try_files $fastcgi_script_name =404;
    set $path_info $fastcgi_path_info;
    fastcgi_param PATH_INFO $path_info;
    fastcgi_index index.php;
    include fastcgi.conf;
    fastcgi_param SCRIPT_FILENAME $document_root$fastcgi_script_name;
    fastcgi_pass 127.0.0.1:9000;
  }
}

Check NGINX configuration for syntax errors:

sudo nginx -t

Reload NGINX service:

sudo systemctl reload nginx.service

Step 4 – Install Phorum

Create a document root directory for Phorum:

sudo mkdir -p /var/www/phorum

Change ownership of the /var/www/phorum directory to [jour_user]:

sudo chown -R [your_user]:[your_user] /var/www/phorum

Navigate to the document root directory:

cd /var/www/phorum

Download the latest stable Phorum distribution from the official website:

wget https://www.phorum.org/downloads/phorum-5.2.23.tar.gz

Unpack the downloaded archive and move files to the document root:

tar xvzf phorum-5.2.23.tar.gz
rm phorum-5.2.23.tar.gz
mv Core-phorum_5_2_23/* .  mv Core-phorum_5_2_23/.* .
rmdir Core-phorum_5_2_23

Configure the database access:

cp include/db/config.php.sample include/db/config.php

Configure database settings by editing include/db/config.php file:

vim include/db/config.php

Change the ownership of the /var/www/phorum directory to nginx:

sudo chown -R nginx:nginx /var/www/phorum

Run sudo vim /etc/php-fpm.d/www.conf and set user and group to nginx:

sudo vim /etc/php-fpm.d/www.conf
# user = nginx
# group = nginx

Restart PHP-FPM service:

sudo systemctl restart php-fpm.service

To finish the installation, run the web-based installer by visiting http://forum.example.com/admin.php in your web browser.

Resetting MySQL Root Password On Ubuntu 16.04 / 17.10 And 18.04 LTS

We’re humans, and we forget stuff… when we do, we tend to go back in time to remember what was forgotten. The same is true with passwords. We do forgot a lot when it comes to passwords… and that’s why there are countless password managers to help us manage our passwords.

Forgetting your desktop password is one thing… however, fogetting the root password to your MySQL database in production is totally another thing and not fun…. and if you did, then you’re in the right place… the steps below will show you how to quickly reset the root password to your MySQL database server…

This brief tutorial is going to show students and new users how to quickly regain access to MySQL databases by resetting the root password.

When you’re ready to reset the root password for MysQL, continue with the steps below


Setting MySQL Root Password

To reset MySQL root password, logon to the Ubuntu server and run the commands below to stop MySQL database service

sudo /etc/init.d/mysql stop


Then run the commands below to create a new mysqld directory

sudo mkdir /var/run/mysqld/

and give mysql user access to it.

sudo chown mysql /var/run/mysqld/


After that, run the commands below to start MySQL in safe mode by bypassing the standard authentication process..

sudo mysqld_safe --skip-grant-tables &

You should see something like this… you may have to press the Enter key

b2c@ubuntu1710:~$ 2017-12-25T16:49:30.551520Z mysqld_safe Logging to syslog.
2018-12-25T16:49:30.554646Z mysqld_safe Logging to '/var/log/mysql/error.log'.
2018-12-25T16:49:30.578079Z mysqld_safe Starting mysqld daemon with databases from /var/lib/mysql
2018-12-25T16:49:32.568746Z mysqld_safe mysqld from pid file /var/run/mysqld/mysqld.pid ended

[1]+  Done                    sudo mysqld_safe --skip-grant-tables


Next, run the commands below to logon to the database server with the root account without typing a password… you’re given root access to the database without entering the password…

sudo mysql -u root


Once logged into the database, run the SQL command statement below to use the default mysql database… this database holds the settings for root user and other server settings…

use mysql;


mysql> use mysql; Reading table information for completion of table and column names You can turn off this feature to get a quicker startup with -A Database changed


Finally, run the SQL statement below to change the root password

update user set authentication_string=PASSWORD("New_Passwore_Here") where User='root';


Save the change by running the commands below

flush privileges;
exit;


Finally, stop MySQL safe_mode and start MySQL default service

sudo /etc/init.d/mysql stop 
sudo /etc/init.d/mysql start


If you did everything as described above, you should be able to log back onto MySQL database using the root new password.

sudo mysql -u root -p


Enjoy!


This is how one resets MySQL root user.